Lean的OpenWrt Lede固件编译
服务器选择
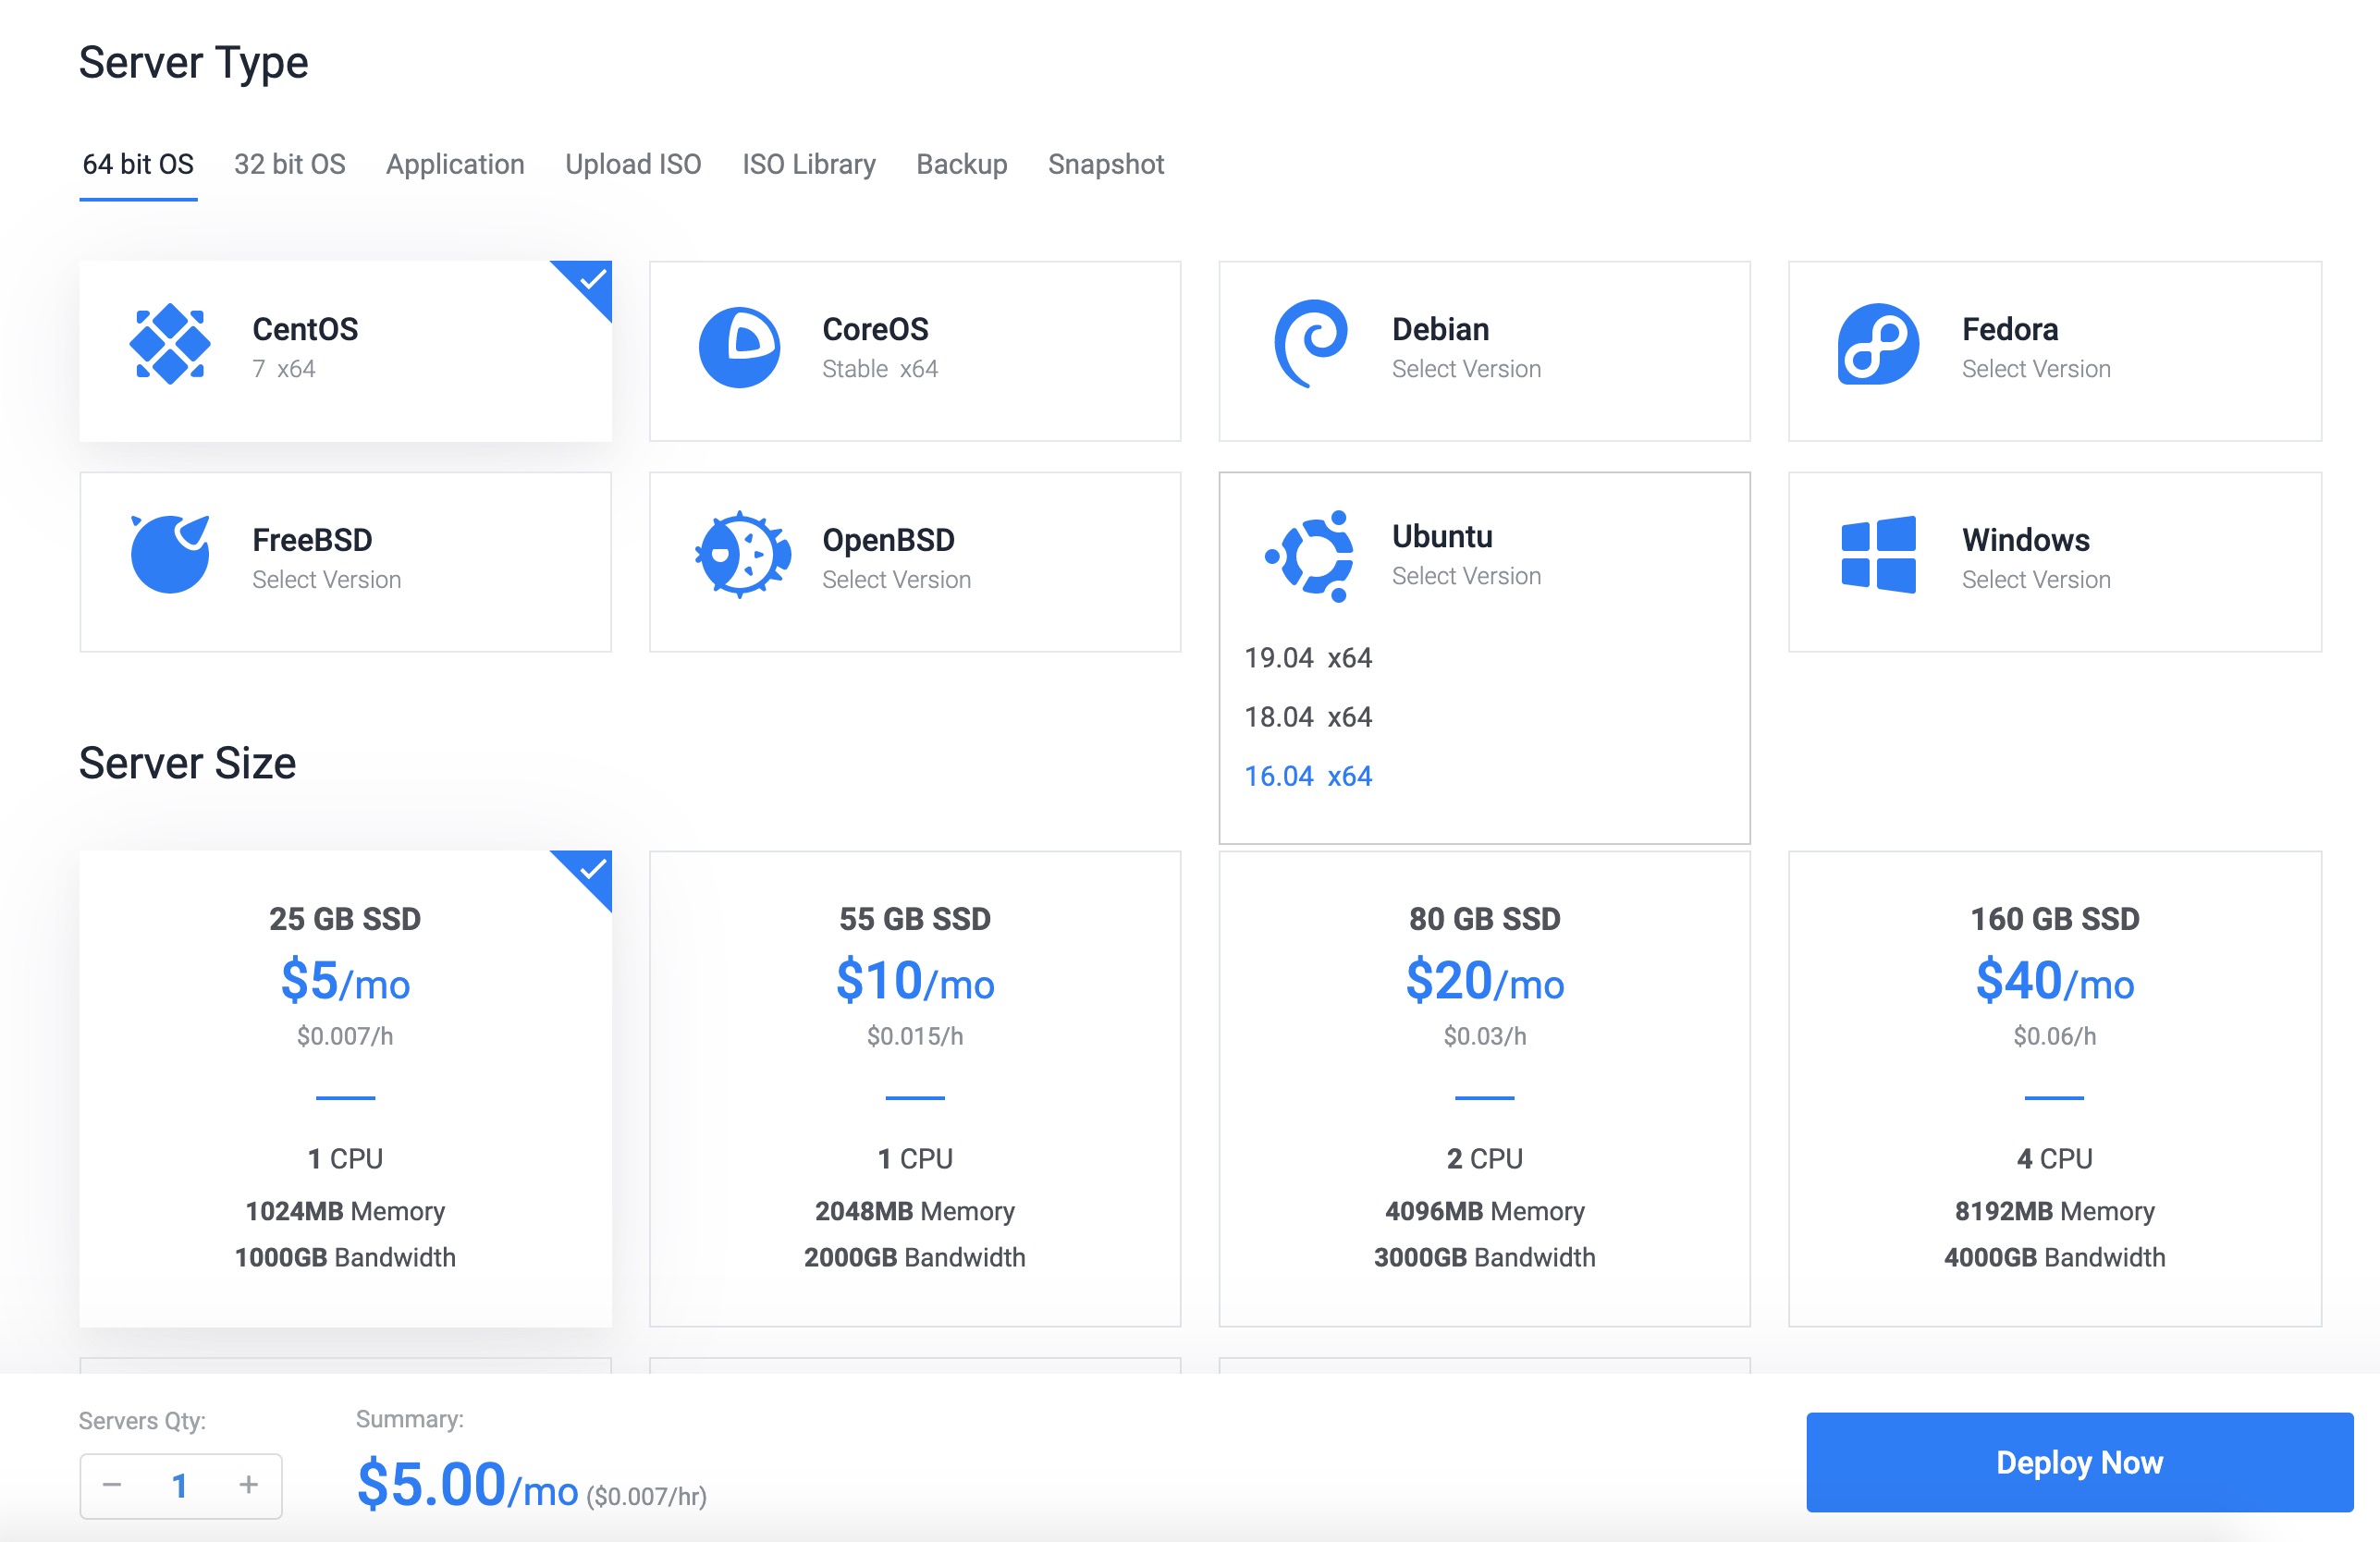
安装Ubuntu 20.04系统 我这边选用的是 Vultr 这家服务商的VPS进行搭建的,经过测试完全没有问题。 当然了,在自己的机器上安装虚拟机也是个可行的选项,但是要注意的是!在整个编译过程中,必须保持全程科学上网,否则将有大概率编译失败,所以还是推荐直接用国外地区的VPS进行编译。(选择5美刀的配置就够了,系统选择 Ubuntu 64位) (2020-05-05更新:5美刀的机器内存跟不上,编译到一半会报错,内存溢出,选择10美刀的机器,系统依旧是Ubuntu 20.04 64位)
创建普通用户
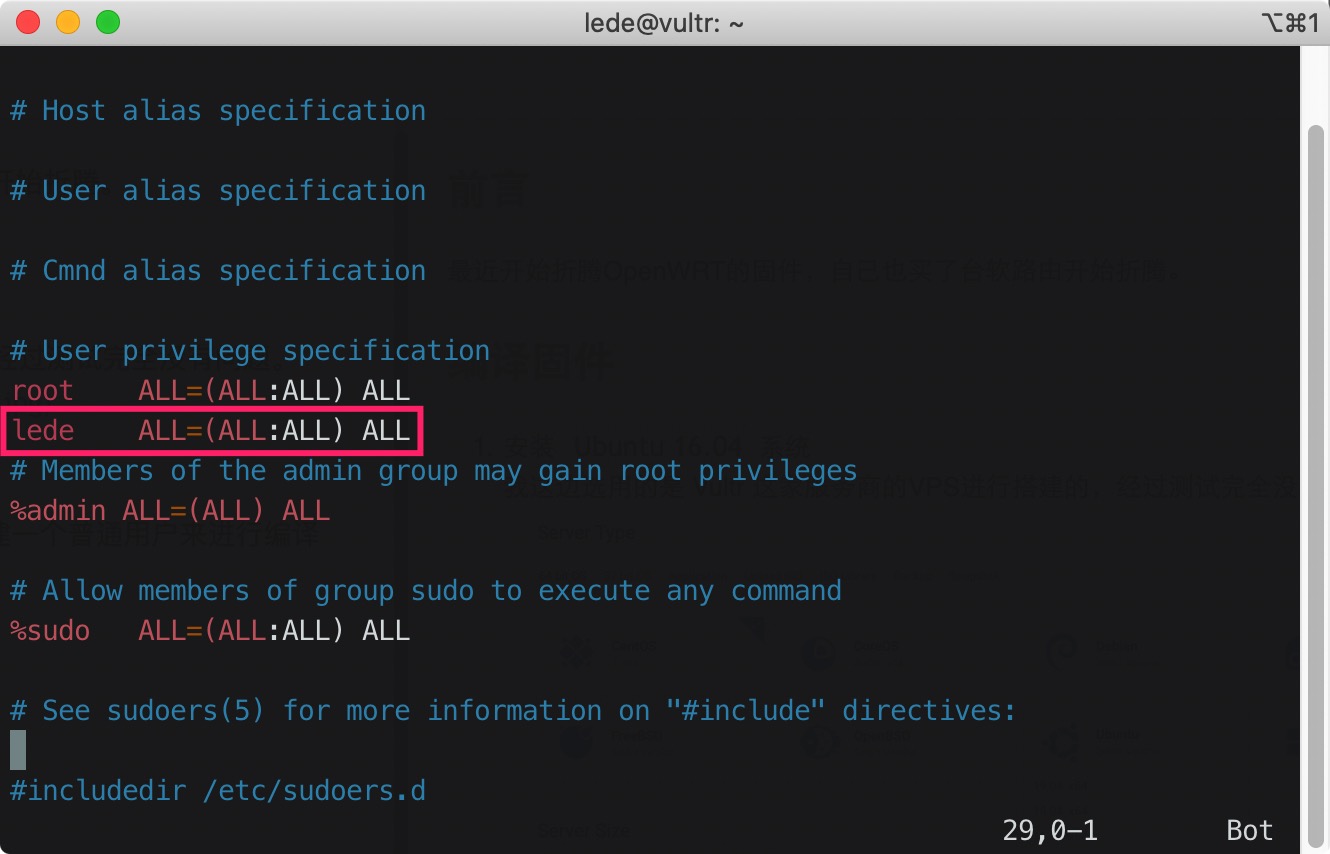
编译OpenWRT用root用户可能会出错,所以这边要新建一个普通用户来进行编译
1 | |
1 | |
编译固件
1 | |
以下源代码来自恩山Lean大佬Github仓库链接
1 | |
进入菜单开始配置系统固件 (空格选定,上下左右控制方向)
- Network > Firewall > iptables
- Base system > dnsmasq-full
- Utilities > coreutils
- Utilities > coreutils > coreutils-nohup
- Utilities > Shells > bash
- Network > File Transfer > curl
- Base system > ca-certificates
- Network > ipset
- Network > Routing and Redirection > ip-full
- Network/Firewall/iptables-mod-tproxy
- Network/Firewall/iptables-mod-extra
- Libraries/libcap
- Libraries/libcap-bin
- Languages/Ruby/ruby
- Languages/Ruby/ruby-yaml
- Utilities/Compression/unzip
- Kernel modules / Network Support / kmod-tun
- LuCI/Modules/luci-compat(Luci-19.07)
- Network > Firewall > ip6tables > ip6tables-mod-nat(ipv6)
- Kernel modules / Network Support / kmod-inet-diag(PROCESS-NAME)
- Kernel modules > Netfilter Extensions > kmod-nft-tproxy
- Administration/netdata
- LuCI->Theme->Luci-theme-argon
完成之后可以Exit保存退出
1 | |
最后在 lede/bin/targets/x86/64 目录下能够找到 img 的固件文件,编译成功
FAQ
如何显示 酸酸乳+
在lede目录下修改feeds.conf.default
把其中#src-git helloworld https://github.com/fw876/helloworld代码前的注释符号就可以了
出现 squashfs: Unknown paraMeter ‘discard’
Target Images 中选择 Build GRUB images (Linux x86 or x86_64 host only) (NEW)
使用不含EFI的ISO文件